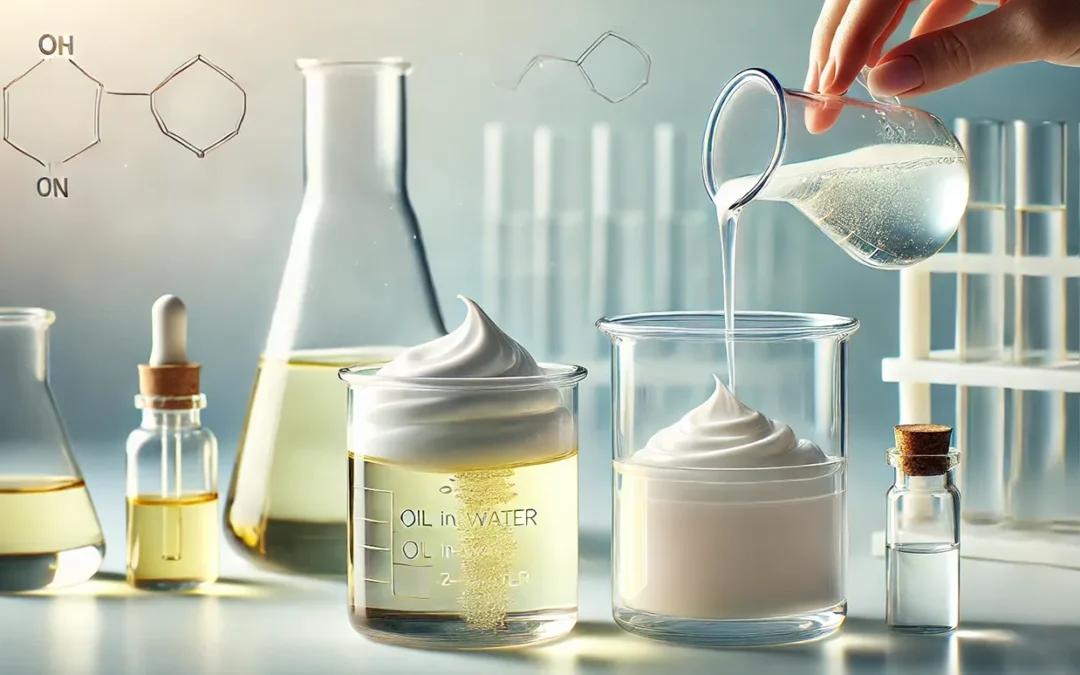
Formulating O/W skincare cream is an exciting and rewarding journey that allows you to create products tailored to your skin’s unique needs. While it might sound intimidating, understanding the process can demystify the art of skincare formulation. Whether you’re a skincare enthusiast or looking to start your beauty line, this guide will walk you through the essential steps of formulating a skincare cream.
- Understanding the Basics of Skincare Formulation
Skincare creams are emulsions, mostly(O/W), meaning they combine water-based as an external phase and oil-based ingredients as an Internal phase to create a smooth, creamy texture. There are three primary components involved:
- Water Phase: Consists water and water-soluble ingredients like glycerin, hydrosols, Aloe Vera, and botanical extracts.
- Oil Phase: Includes oils, kinds of butter, and waxes that nourish and hydrate the skin.
- Emulsifiers and Stabilizers: Help combine the oil and water phases, preventing them from separating.
Key Ingredients Overview
- Water (Distilled Water): The main hydrating element.
- Carrier Oils: Jojoba, almond, argan, and rosehip oils are popular choices that offer nourishing benefits.
- kinds of butter: Shea, cocoa, or mango butter add richness and moisturization.
- Emulsifiers: Polawax, Olivem 1000, or Emulsifying Wax NF keep your cream’s texture consistent.
- Thickeners: Xanthan gum, Cetyl alcohol, or stearic acid can help achieve the desired texture.
- Preservatives: Essential for extending shelf life, especially in water-based formulations. Opt for broad-spectrum preservatives like Optiphen or Germaben II.
- Actives: These include vitamin C, hyaluronic acid, peptides, and niacinamide, which target specific skin concerns.
- Step-by-Step Guide to Formulating a O/W Skincare Cream
Step 1: Research and Planning
Start by identifying the purpose of your cream. Are you formulating a moisturizing cream, anti-aging treatment, or a soothing product for sensitive skin? Knowing your target will guide ingredient selection and formulation.
Step 2: Prepare Your Workspace and Tools
Before starting, ensure you have a clean, sanitized workspace. Gather essential tools, including:
- Heat-resistant glass beakers or bowls
- A digital scale for precise measurements
- A double boiler or hot water bath
- A stick blender or mini whisk
- Thermometer
- pH strips
Step 3: Create Your Formula
A basic cream formulation consists of approximately:
- Water Phase (60-70%): Water, hydrosols, glycerin
- Oil Phase (20-30%): Oils, kinds of butter, emulsifiers
- Cool-Down Phase (5-10%): Preservatives, essential oils, heat-sensitive actives
Here’s a simple formula for a basic moisturizing cream:
- Water Phase:
- Distilled water: 60%
- Glycerin: 3%
- Oil Phase:
- Jojoba oil: 10%
- Shea butter: 5%
- Emulsifying wax: 6%
- Cool-Down Phase:
- Preservative (according to manufacturer’s instructions): ~1%
- Essential oils (optional): 0.5%
- Vitamin E: 0.5%
Step 4: Combine the Water and Oil Phases
- Heat the Phases Separately:
- Place the water phase ingredients in one heat-resistant container.
- In another container, combine the oil phase ingredients (oils, kinds of butter, and emulsifier).
- Heat both phases in a double boiler until they reach around 70°C (160°F). This helps melt the emulsifiers and kinds of butter and kills any potential bacteria.
- Blend the Phases:
- Once both phases reach the desired temperature, slowly pour the oil phase into the water phase while mixing with a stick blender. Blend for 2-5 minutes until you achieve a smooth, creamy consistency.
Step 5: Cool Down and Add Sensitive Ingredients
- Allow the mixture to cool to around 40°C (104°F) before adding preservatives, essential oils, and other heat-sensitive ingredients. Mixing at a lower temperature ensures that the heat won’t degrade these valuable ingredients.
Step 6: Test and Adjust the pH
- Use pH strips or a pH meter to test the cream’s pH. Aim for a pH between 4.5 and 5.5, which is skin-friendly.
- If needed, adjust the pH using a tiny amount of lactic acid (to lower pH) or sodium bicarbonate (to raise pH).
Step 7: Packaging and Storage
- Transfer the cream into sterilized containers, such as glass jars or airless pump bottles. Allow the cream to cool completely before sealing.
- Label the product with the date and store it in a cool, dark place.
- Tips for Successful Skincare Formulation
- Start Simple: If you’re new to formulation, start with a basic recipe and gradually introduce more ingredients as you become comfortable.
- Use a Digital Scale: Precision is crucial in formulation, so always measure by weight rather than volume.
- Research Ingredients: Understand the properties and compatibility of ingredients before incorporating them into your formula.
- Maintain Cleanliness: Always sanitize your workspace, tools, and packaging to prevent contamination.
- Troubleshooting Common Issues
- Separation: If your cream separates, the emulsifier might be insufficient, or the oil and water phases weren’t blended at the correct temperature.
- Grainy Texture: This usually occurs if butter isn’t heated properly. Ensure they reach a sufficient temperature to melt completely.
- Stability Issues: Test your formula for stability over a few weeks to ensure it doesn’t separate, change color, or develop an off smell.
- Safety and Regulations
- Patch Test: Always perform a patch test on your skin to check for allergic reactions or irritation.
- Follow Regulations: If you plan to sell your product, research and comply with the cosmetic regulations in your region (e.g., FDA in the US, EU Cosmetic Regulations in Europe).
Final Thoughts
Formulating a skincare cream is a blend of science and creativity. It allows you to craft products that cater to your unique skin needs or that of your customers. As you gain experience, experiment with different ingredients, textures, and actives to develop products that stand out.
Remember, practice makes perfect, and the journey is just as rewarding as the result. Happy formulating!


Recent Comments